Smart Retract Gate Installation Guide
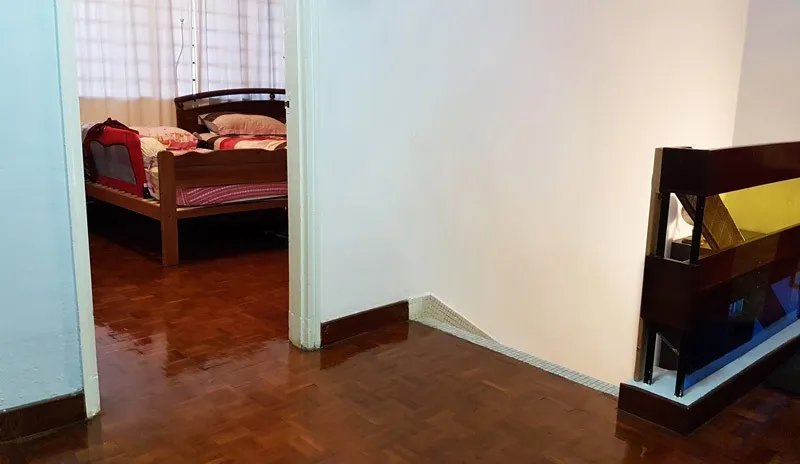
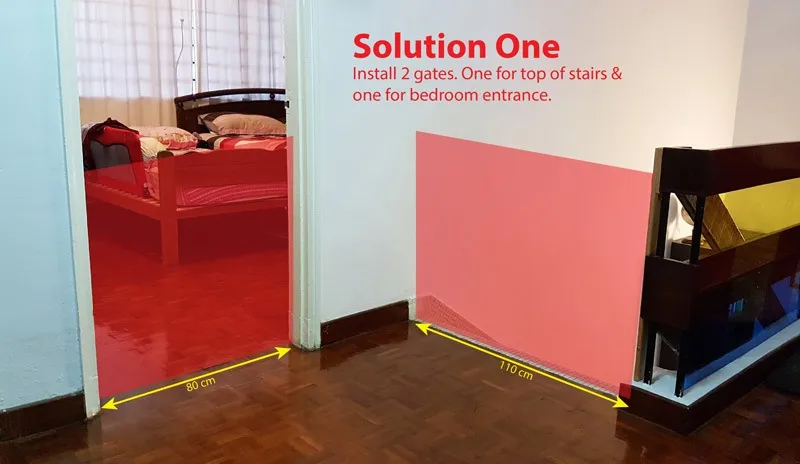
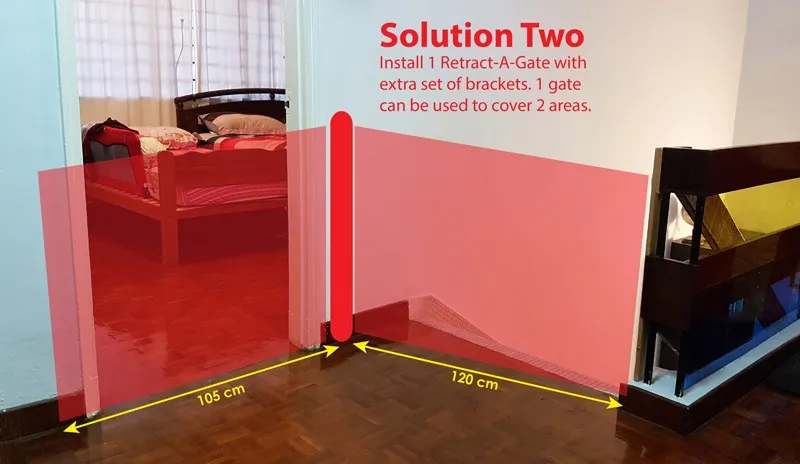
Step One: Planning & Measurements
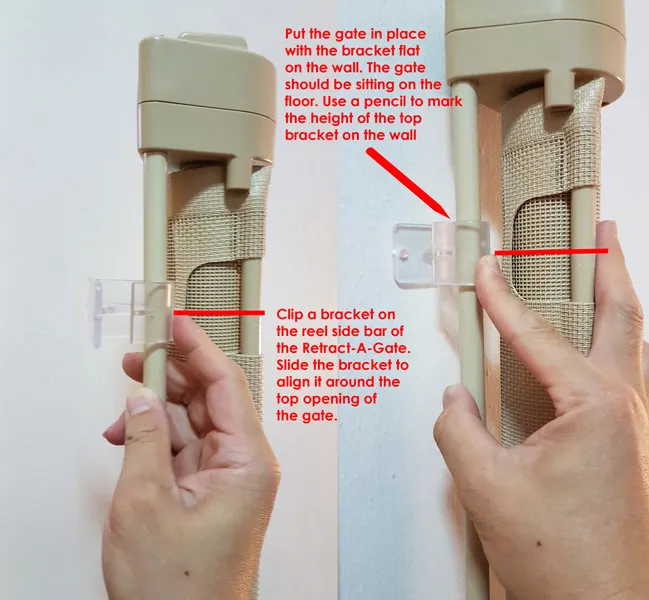
Step Two: Installing the Top Wall Bracket
-
- Step 1
-
- Step 2
-
- Step 3
-

- Step 4
-
- Step 5
-
- Top bracket installed
Step Three: Installing the Bottom Wall Bracket
-
- Top bracket installed
-

- Align Gate & Give allowance to insert gate
-
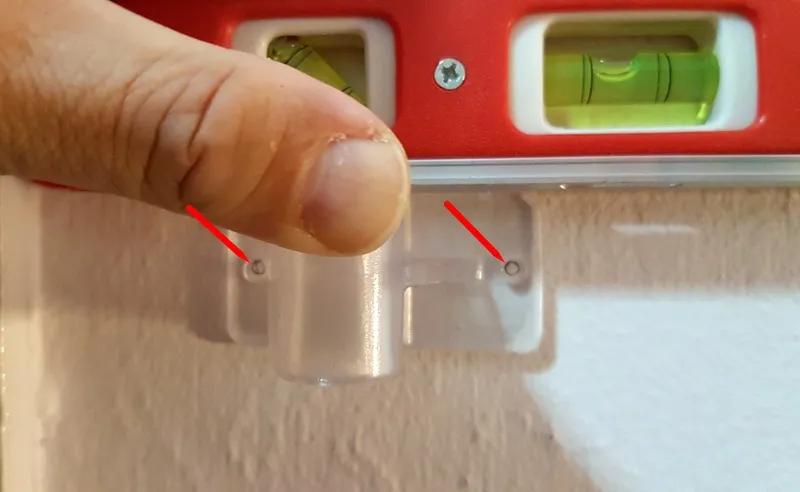
- Mark holes
-
- Bottom Bracket Done!

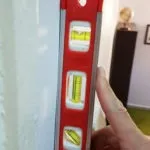
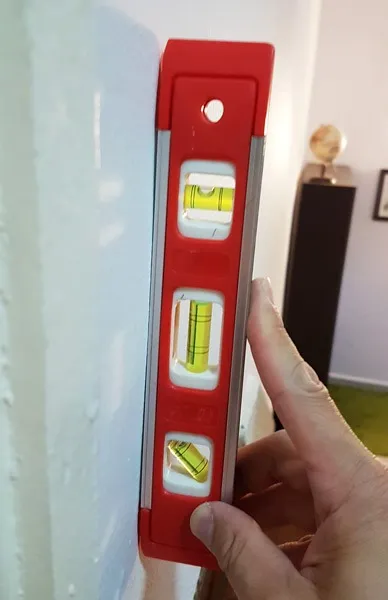
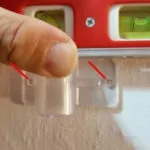
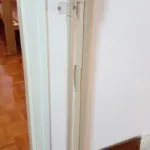
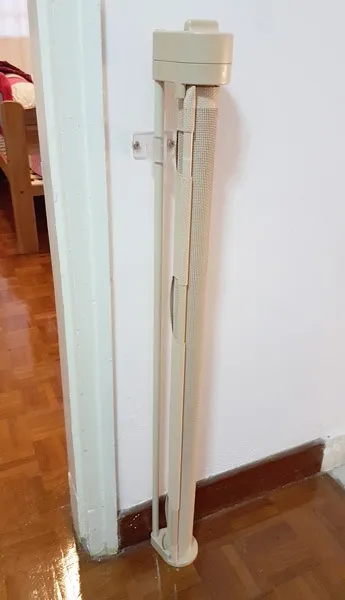
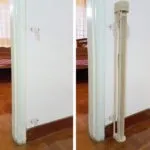
 Align to Brackets Vertically. Clip another bracket onto the reel side bar. Make sure that the bottom bracket opening faces the same direction as the top bracket. Slide it to roughly align with the bottom hole of the gate. Use the spirit level on the reel side bar to make sure the gate is standing vertically upright. This will make sure the 2 brackets are directly above each other.
- Adjust Bottom Bracket to Cater to Skirting. One option to cater to skirtings is to use spacers (see 2nd & 3rd set of brackets for examples). Alternately, because the Retract-A-Gate provides quite a bit of leeway in terms of vertical positioning of the wall brackets, it is possible to position the bottom bracket high enough in this case to provide enough clearance to still insert and remove the Retract-A-Gate easily into this set of brackets despite the skirtings. Mark the holes to be drilled.
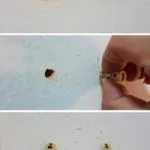
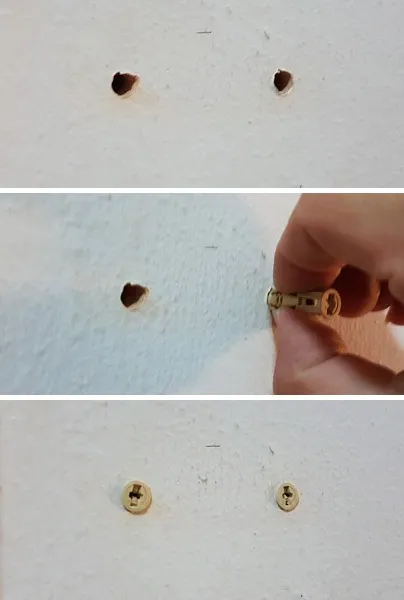
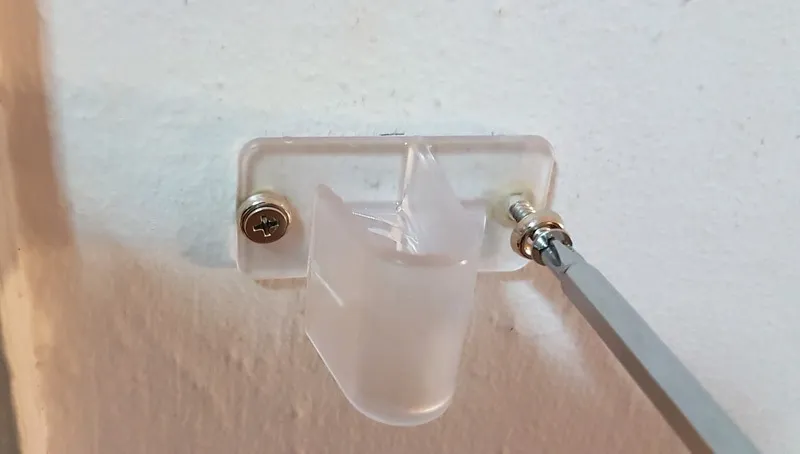
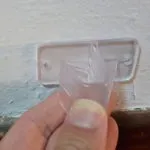
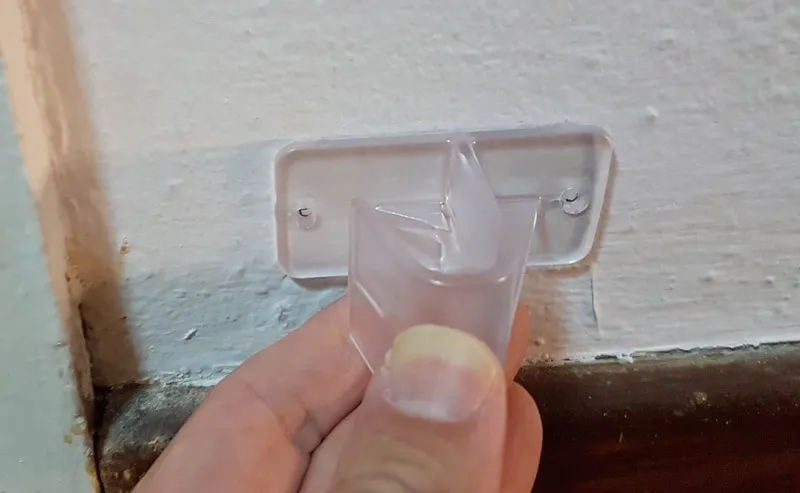
- Drill & Prepare Holes. Similarly like the previous step. Drill the holes and insert screw anchors to prepare the holes.
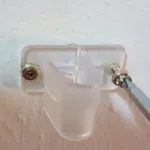
- Install the Bottom Bracket. Once the holes are drilled and prepared, install the bottom bracket and the installation for the 1st set of brackets are done.
Step Four: Installing the Opposite Sets of Wall Brackets
All Done! One Gate to Cover 2 Areas!
